Best Rates for Liftoff Simulator
If you just got the Liftoff simulator and feel your radio transmitter's controls are a bit off, then you have to adjust your RATES!
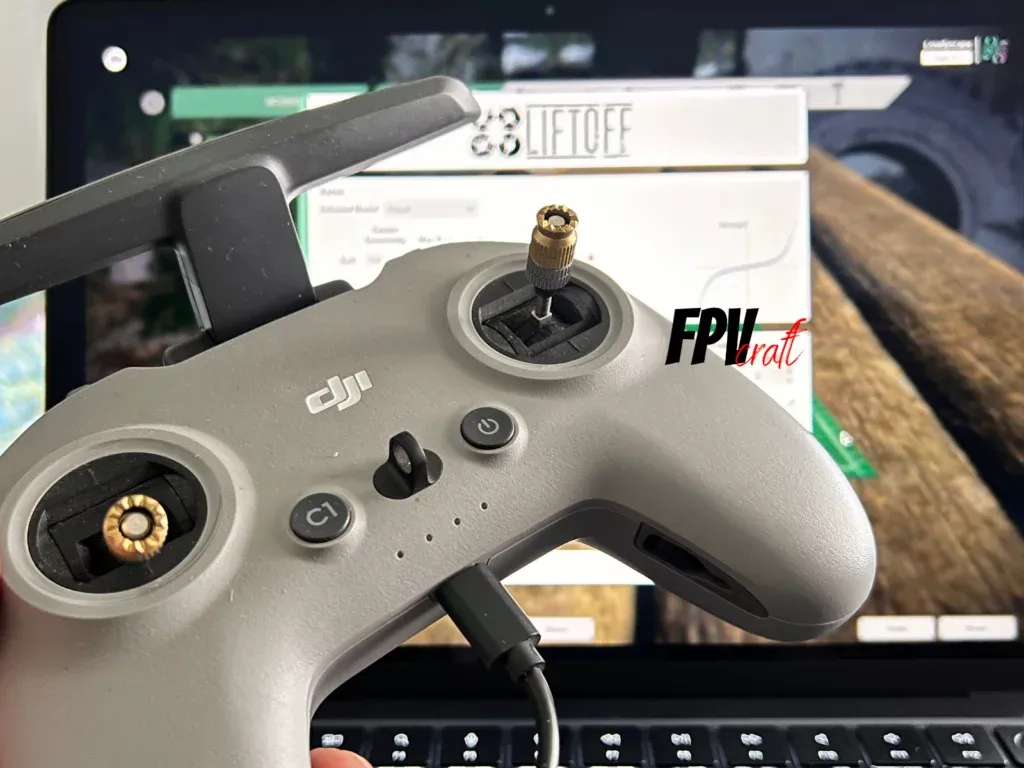
Liftoff is one of the most known FPV Simulators existent and is a way to train to fly FPV drones quickly and without risks.
But the settings in Liftoff may differ from what you would like a drone to react to stick inputs.
That’s why we have to look at specific rates that apply in Liftoff Simulator.
Luckily, after a dozen hours of training and many hours of testing rates, I have found what I believe to be the best ones.
What are Rates in FPV?
Rates, as a term most drone pilots use, are the stick input sensitivity that applies when flying an FPV drone or a drone in general.
They reflect the rate of rotation the FPV drone moves on a specific stick input.
The values of rates can be linear or non-linear.
What does it mean?
If linear (taking as an example from standard “ACTUAL” rates), then how much stick input you have with your YAW, PITCH, or ROLL will reflect as a percentage of stick input from the mid towards the edge.
For instance, if the ROLL stick is halfway between the center and edge, then the rates apply at 50% in a linear way, out of the maximum degree the ROLL is set.
If non-linear, EXPO or other similar values comes into action in modifying the input into a convex or concave curvature.
But what we’re looking for is a convex curvature at all times.
For instance, if some expo is applied between 0 to onwards values (e.g., Expo=0.45), then the stick input will react with the drone with a less sensitive drone response towards the center and more sensitive towards the edge.
In the case of having EXPO modify the curvature of the graphics, toward zero is more linear, and toward one is less linear, also depending on the current value of “center sensitivity.”
Note: If this sounds a bit confusing, wait it out. I’ll try my best to clarify it.
The MAX RATE is the actual maximum degrees per second to set (for the drone to rotate) when the stick input is at maximum.
Exemplary values of max rate are about 400 to 600 for creating cinematic content and 800 to 1000 for freestyle.
Center sensitivity is, in fact, the stick’s sensitivity around the center input.
The more the center input, the more sensitive the drone will be to stick input toward the center point.
With less input, the drone will react less sensitively on this matter.
This, combined with EXPO, can create a perfectly smooth, less sensitive center for accurate flying and quick reaction towards extremities for freestyle.
Remember that what we discussed above reflects values and references to the ‘ACTUAL’ rates.
Other types of rates use different terms and values, such as Betaflight, KISS, Raceflight, QuickRace, etc.
What we will use for Liftoff rates are, in fact, “ACTUAL” rates.
How does Liftoff use Rates?
The ability to control a drone virtually with a radio transmitter, not only in Liftoff but all simulators, is astonishing.
This summarizes well behind months and years of programming, experimenting, and perfecting this perk to bring rates in FPV simulators.
The excellent point is that the rate values translate well into flying an FPV drone in reality.
That’s why, if you find yourself to like these rates or any others you find or create for Liftoff, you can use them for your quad.
Just beware of doing the correct configuration and set it for “ACTUAL” if that’s what you’re working on.
» READ MORE: Can you use DJI FPV Remote Controller 2 with Liftoff Simulator?
How to change rates in Liftoff?
There are two ways you can implement the rates in Liftoff Simulator:
The first one would be directly in the game when you’re flying your quad.
- Press ESC key
- Go to Flight Controller Settings
- If prompted, make a copy of the drone
- From the dropdown menu, select “ACTUAL.”
- Modify your rates as per the values we recommend.
The second way would be from the main menu.
- Go to Tools > Workbench
- Select Drone Editor
- Choose a drone you like and select it
- In the editor, click on “Edit Flight Controller Settings.”
- Select from the dropdown menu “ACTUAL” for the selected model
- Choose our rates or any you would like.
Note: Modifying the rates in Liftoff applies ONLY to the drone you choose and not to all drones. Therefore, choosing a drone and sticking with it is good practice.
What are the best rates for Liftoff Simulator?
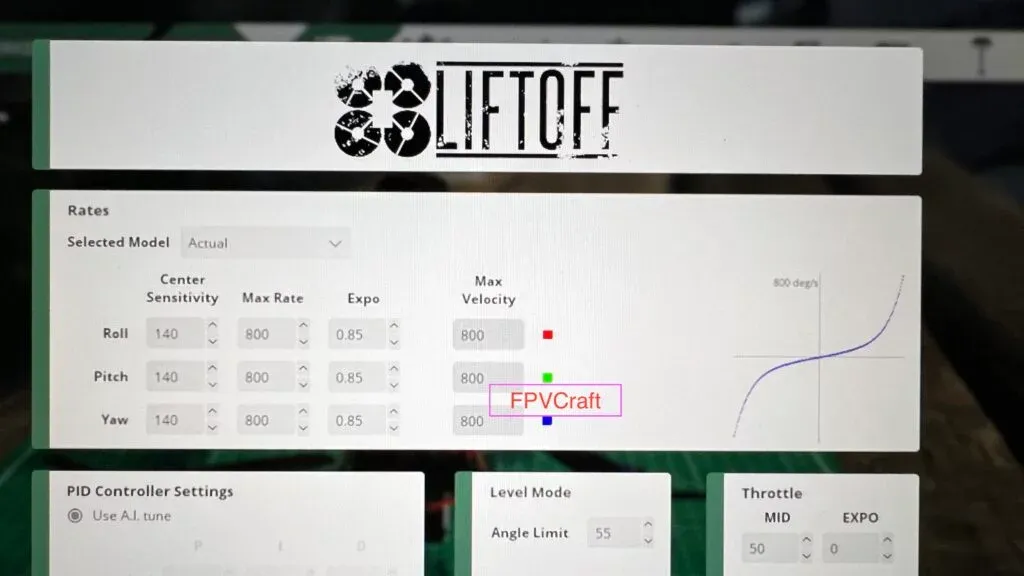
This is probably what you’ve been waiting for the entire article.
If you have seen the above image, then you can surely take the rates from there. But I like to add them to a table as well.
| Values | Center Sensitivity | Max Rate | Expo |
|---|---|---|---|
| Roll | 140 | 800 | 0.85 |
| Pitch | 140 | 800 | 0.85 |
| Yaw | 140 | 800 | 0.85 |
Best Rates for Liftoff Simulator
These rates reflect well into having a less sensitive middle point for accurate flights and very sensitive at about 800 deg/s on the edge.
I always prefer the YAW, ROLL, and PITCH to have the same values across, but you can change that.
I haven’t touched the throttle MID, idle throttle, and EXPO throttle, though.
But as per your like, you can change those and experiment with them.
» READ MORE: How to Learn FPV in Simulators (Ultimate Guide)
How to craft your own rates in Liftoff?
Now, if we’re about to take the ACTUAL rates we shared with you, you can modify and change them as you like.
Therefore,
- Decrease center sensitivity if you want smoother flights towards the center point (good for cinewhooping) or increase it for quicker reactions of the drone.
- Increase the max rate if you want more aggressive freestyle values.
- Decrease the max rate if you’re looking for cinematic flights.
- Higher is the EXPO value (with lower center sensitivity), less sensitive is towards the center, and more concaved is the graph and stick input.
- If you like a more linear way of controlling the drone (which I don’t recommend much), then decrease EXPO as much as you like and slowly increase the “center sensitivity.”
- You will have to find a balance between center sensitivity and expo to reflect on how sensitive should the stick input be towards the center point and how aggressively this changes towards the outer part.
Now don’t forget to save your drone in Liftoff.
These RATES values also apply quite well in Uncrashed and TRYP FPV drone simulators.
» READ MORE: What is the Best Liftoff Simulator Camera Angle to Learn FPV

