How to Adjust Gimbal Tension on FPV Radio Transmitters
If you feel your throttle, yaw, roll or pitch are too tight or loosen on your FPV radio transmitter, you could readjust them from inside the radio
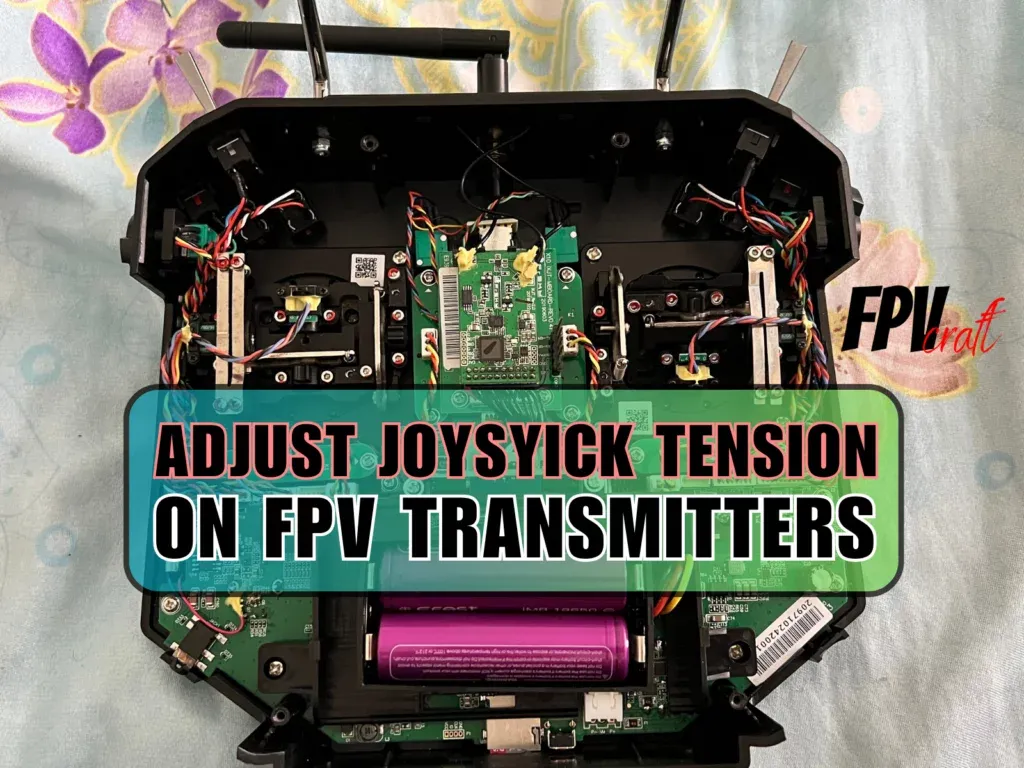
If you have a radio transmitter for your FPV drone, especially if we deal with large ones, you may notice that the joystick tension could be high.
Flying a drone with high spring tension from the gimbals may be out of our comfort zone.
That’s why we may have to undergo this procedure.
In this article, I will guide you step by step on how to adjust the gimbal tension of an FPV radio for the best joystick response.
Most large radios will have a similar feature to adjust it. I am going to use the FrSky Horus X10S Express as an example.
Can you adjust the gimbal tension on FPV radio transmitters?
Yes, but not on all radio transmitters.
Usually, the smaller version, the gamepad-style radio transmitters, may lack this option to adjust the gimbal tension.
But in these cases, you won’t need to because the tension of gimbals from smaller radios is quite loose, and the joysticks are usually comfortable to use.
So, let’s see what type of axis needs readjustment, shall we?
Indeed, we have to deal with YAW, PITCH, and ROLL.
The throttle will be loose and doesn’t need any readjustments unless it is way too loose and falls if you hold the radio up.
Any of the axes can be adjusted individually. So, you will have to set the right spring strain for each axis for the best joystick response, the one that fits you best. And it doesn’t have to be equally arranged.
» RELATED: How to Remove Throttle RATCHET from FrSky X10S Express
Why adjust gimbal tension on FPV radio transmitters?
It could be awkward to fly a drone with stressed sticks because the gimbal spring puts too much pressure on returning it to the center axis. Or maybe it’s too loose and feels weird.
There are quite a few reasons you may want to readjust it.
For instance, it wasn’t cozy for me to continuously micro-adjust an FPV drone in flight when the joystick was tensioned.
This, indeed, can affect the accuracy of flying an FPV drone.
Or maybe you have set low rates towards the center axis for accurate flights and high rates towards the edge of the sticks for freestyle. And by mistake, you don’t want to push them too much.
For that reason, you may want to increase the tension of your controller gimbals.
But generally, most likely, if you have a large remote controller, you should be able to adjust the tension.
How to adjust the gimbal tension on FPV radio transmitters
For this process, you will have to open up the radio. Just be aware not to void your radio transmitter warranty if you open it up. Check with your warranty manual before proceeding.
1. Open up the radio controller.
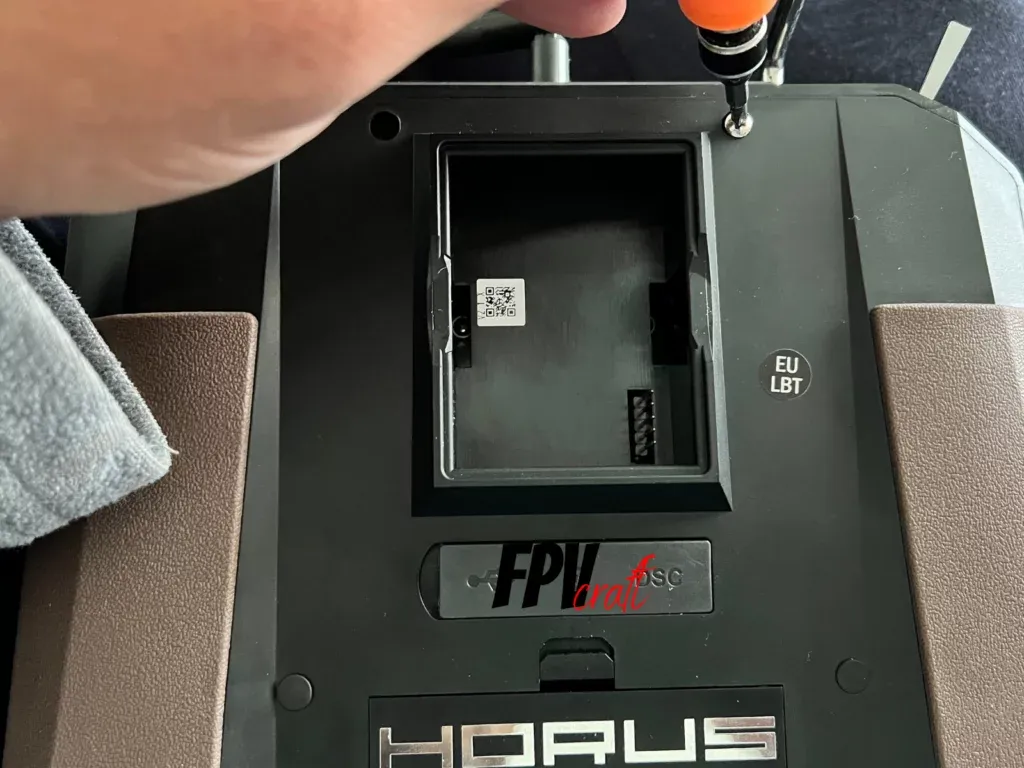
Remove the screws from the back of your RC that is holding it together.
Be aware of not having an external module in the bay installed. If you have, remove it.
You may also have to remove the battery from the tray if required. It all depends on the type of radio transmitter you have.
Note: Please be careful about how you hold the radio so that the sticks are not under pressure when facing the radio down. You should not remove them, as you will have to play with the joysticks and see if you set the correct tension.
2. Locate the tension screws of each individual axis

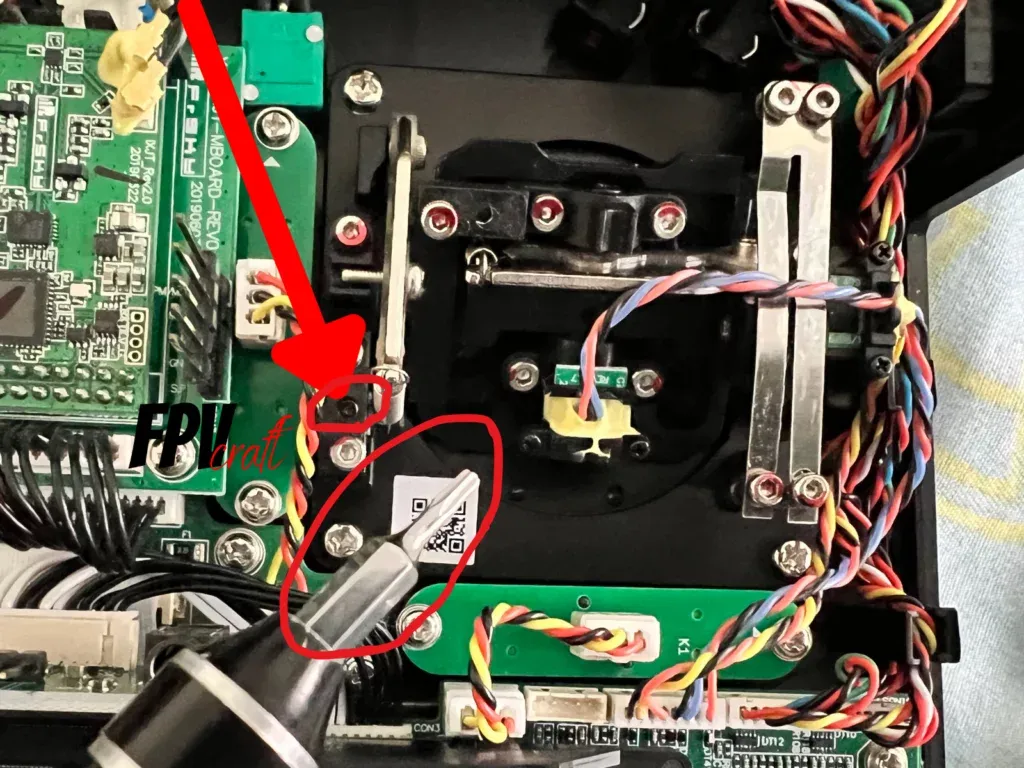
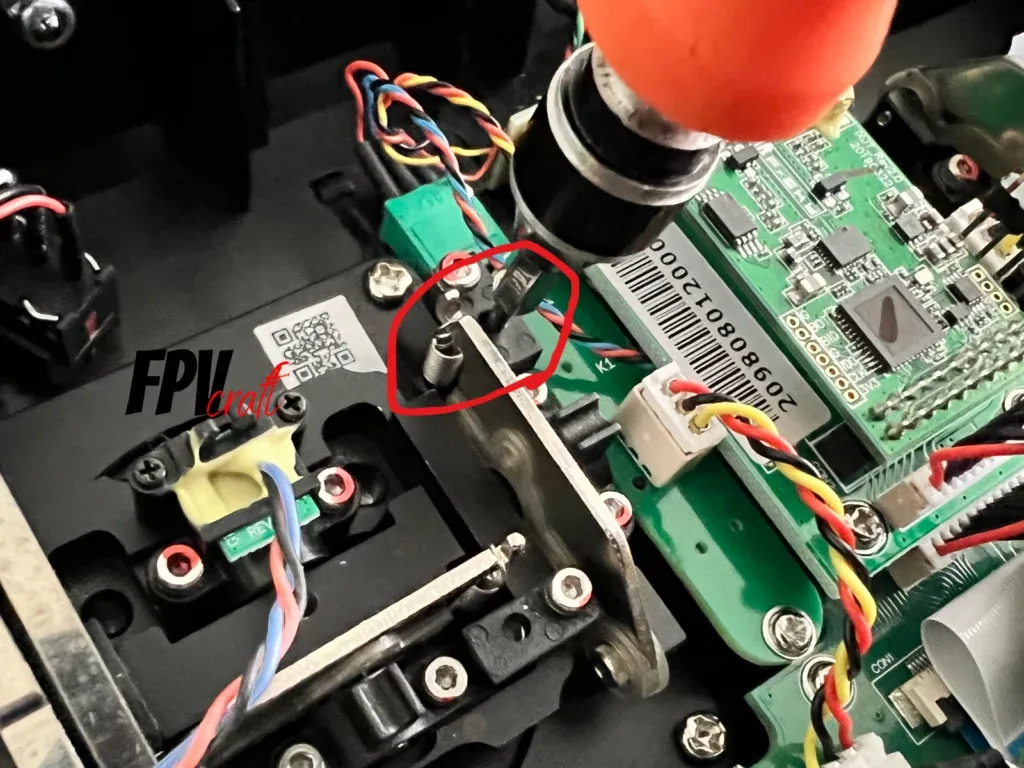
Locating tension screws of an FPV Transmitter individual axes
They would be really easy to miss.
Some of the screws put some pressure on the blades of the axis gimbals. We should leave those untouched.
We need to use a 1.5mm hex screwdriver, which may be similar across most radio transmitters, to adjust the screws as marked in the image above by either screwing or unscrewing it.
These screws should be three in number, missing the one for the throttle gear.
Adjust each individual, three in total, screws that are parts of the blocks with the springs responsible for the gimbal tension of your controller.
Once more, one should be responsible for your YAW, one for the PITCH, and one more for the ROLL axis.
If you tighten the gimbal axis tensions too much, you will have issues controlling the drone accurately and struggle to fly.
If the gimbal is too loose, the sticks of the radio controller won’t return well to the center axis and may wobble around it.
What I have personally done is loosen the gimbal tensions to the borderline for the joysticks of being too loose. It’s fantastic for comfortable flights and very often micro-adjustments of the FPV drone.
3. Put your FPV radio transmitter back together.
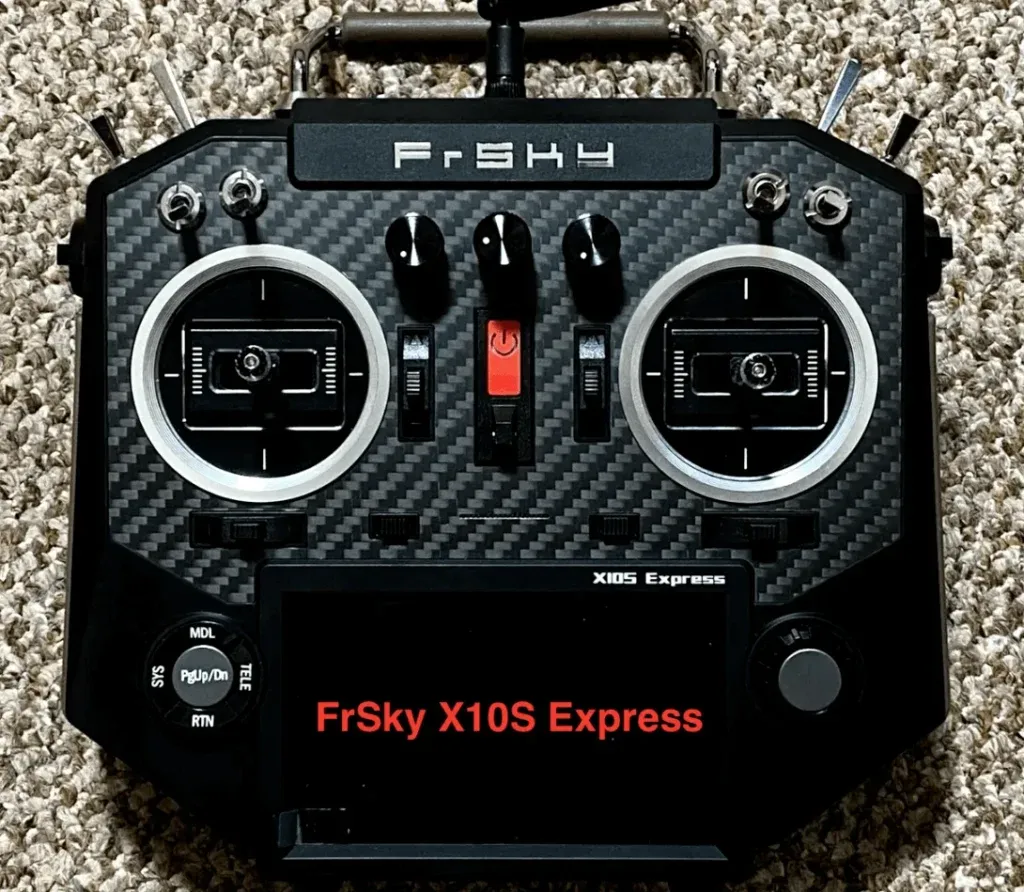
After you have played with your radio controller’s gimbal sticks and are happy with the results, it is time to put it back together the same way you opened it up.
Just be aware that the pins from the module bay go straight through the hole. Other ways you can bend them.
After you put the lid back on your RC, don’t screw it yet. Start an FPV simulator and see if you are happy with the result to avoid screwing and unscrewing your radio all day long.
Then, put the screws back together and enjoy the readjusted joystick tensions of your FPV radio transmitter.
» RELATED: Large vs. Gamepad Style Radio Transmitter in FPV
Loose or high gimbal tension on the controller?
This is a matter of personal choice.
As I’ve mentioned before, I love my joysticks to be slightly loose.
Their tension now is similar to my DJI FPV Remote Controller 2, which is slightly loose.
But some other people would love the firmer tension of their sticks. As I’ve said, it’s a matter of personal choice.
I recommend that if you’re happy with your controller stick tension from the beginning, you shouldn’t try to change it for your RC.
Just leave it as it is.
» RELATED: How to Get Smooth and Cinematic FPV Drone Footage (Guide)


