VelociDrone with DJI FPV Remote Controller 2
If you have the DJI FPV Remote Controller 2 and you want to acquire VelociDrone, you're in for a treat. How well does it work together?
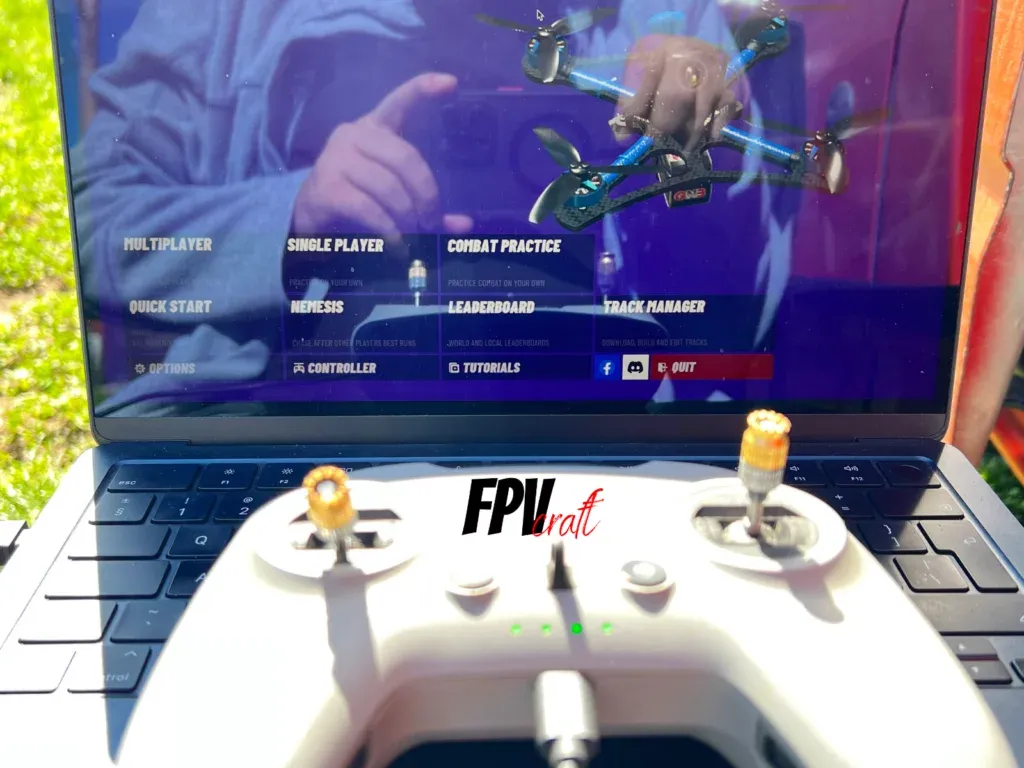
Velocidrone is one of the most realistic FPV drone simulators regarding drone mechanics and physics. But to train in Velocidrone, you may need an FPV Remote Controller.
Does DJI FPV Remote Controller 2 work with Velocidrone?
Indeed, the DJI FPV Remote Controller 2 works well with Velocidrone, both on Windows PC and Macs. However, you will need to set up and calibrate the remote controller in Velocidrone before first use.
Although you may have your quick answer, I will recommend remaining with us for a few tips to share and the best rates to set that work with Velocidrone and DJI FPV Remote Controller 2.
What is Velocidrone, and why do you need an FPV Remote Controller?
Velocidrone is one of the most advanced FPV simulators existent, and in my opinion and other FPV drone pilots, it is the most accurate one when we relate to drone mechanics, throttle management, and in-game physics.
These will help you a lot when training in Velocidrone and transfer this skill when you’re flying a drone in the real world.
The graphics are not the best for a simulator; In fact, it may look slightly like a cartoon, but graphics don’t matter as much in a simulator as other stuff.
Velocidrone is very customizable, and if you have all the add-ons, you will benefit from a massive number of maps; unsure how many are there, but likely more than a thousand.
When you train in FPV simulators, having an FPV Remote Controller is necessary.
Such radio controllers have throttle spring tension disabled, which requires when flying FPV drones, and are very sensitive and accurate to every nanometer of stick input.
Moreover, if you want to fly an FPV drone and you want to train in Velocidrone before, using the same remote controller is helpful because you will get used to how it responds and the feel of it.
Alternatively, you can use an Xbox or PlayStation controller, but the throttle stick will automatically center, and you will require to change a few settings to make it work.
Moreover, such controllers have a lot of dead zones, so I will not recommend you use them unless you don’t have an alternative or, as per the sake of this topic, before you acquire the DJI FPV Remote Controller 2.
Can I help with that? (affiliate disclosure).
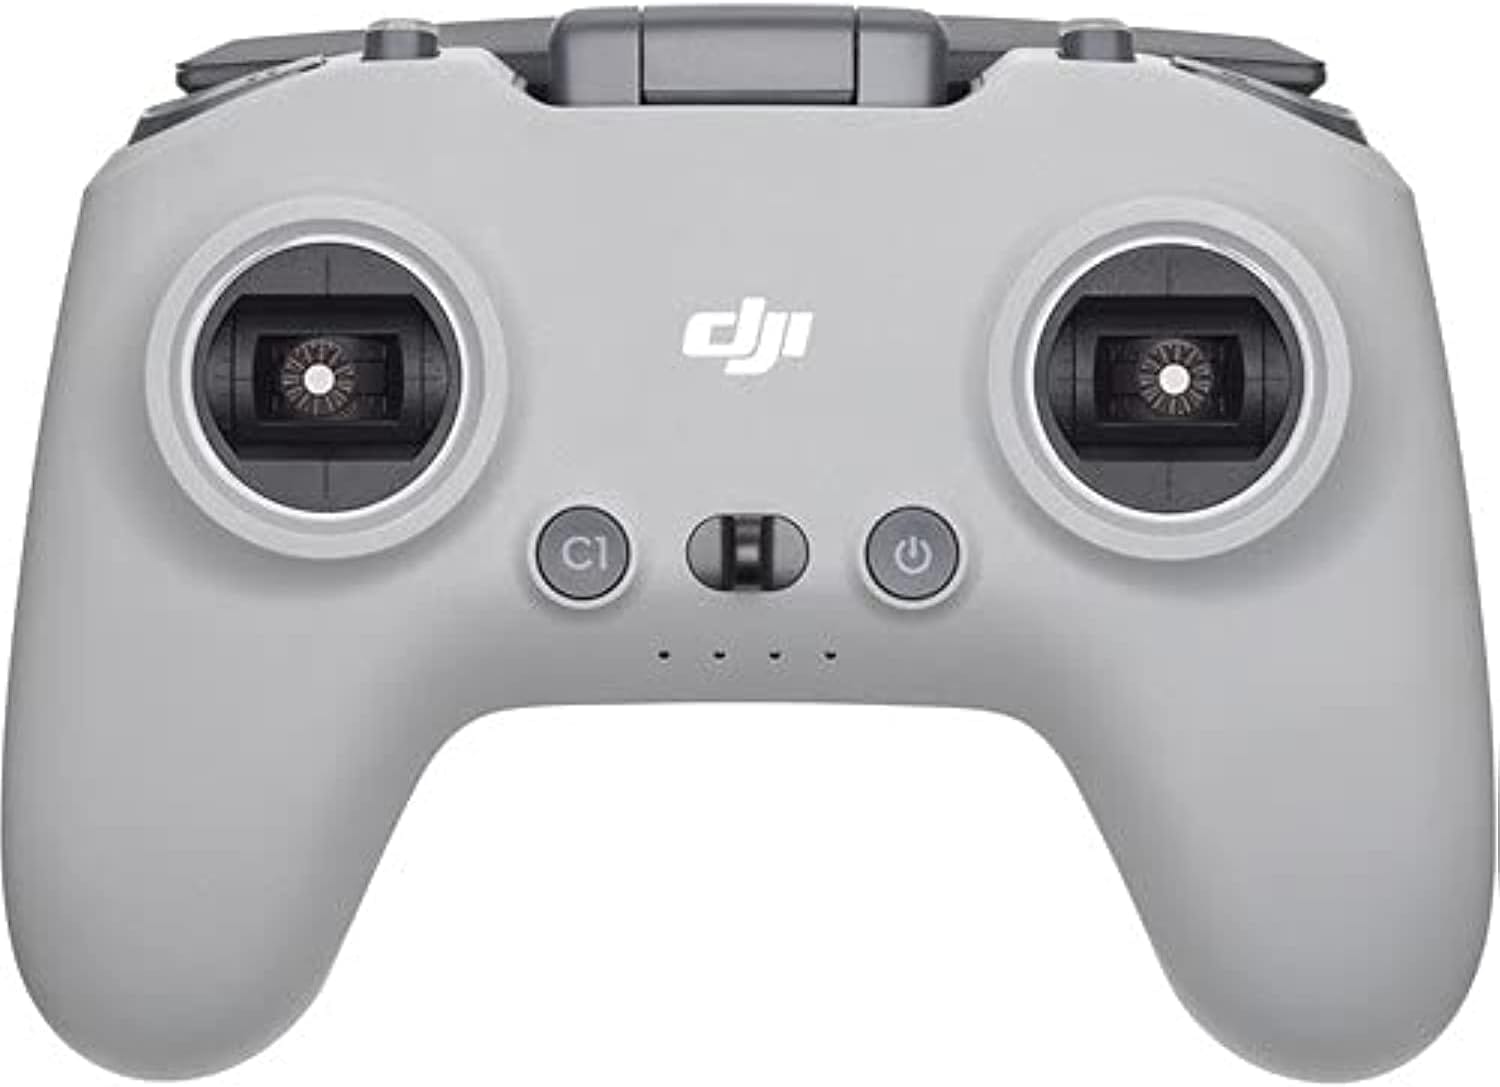
DJI FPV Remote Controller 2
The DJI FPV Remote Controller 2 is compatible with the DJI FPV drone, DJI Avata, and many FPV Simulators such as Liftoff, Velocidrone, DRL, etc.
This is an affiliate link. We earn a commission if you make a purchase, at no additional cost to you.
Training in Velocidrone with DJI FPV Remote Controller 2
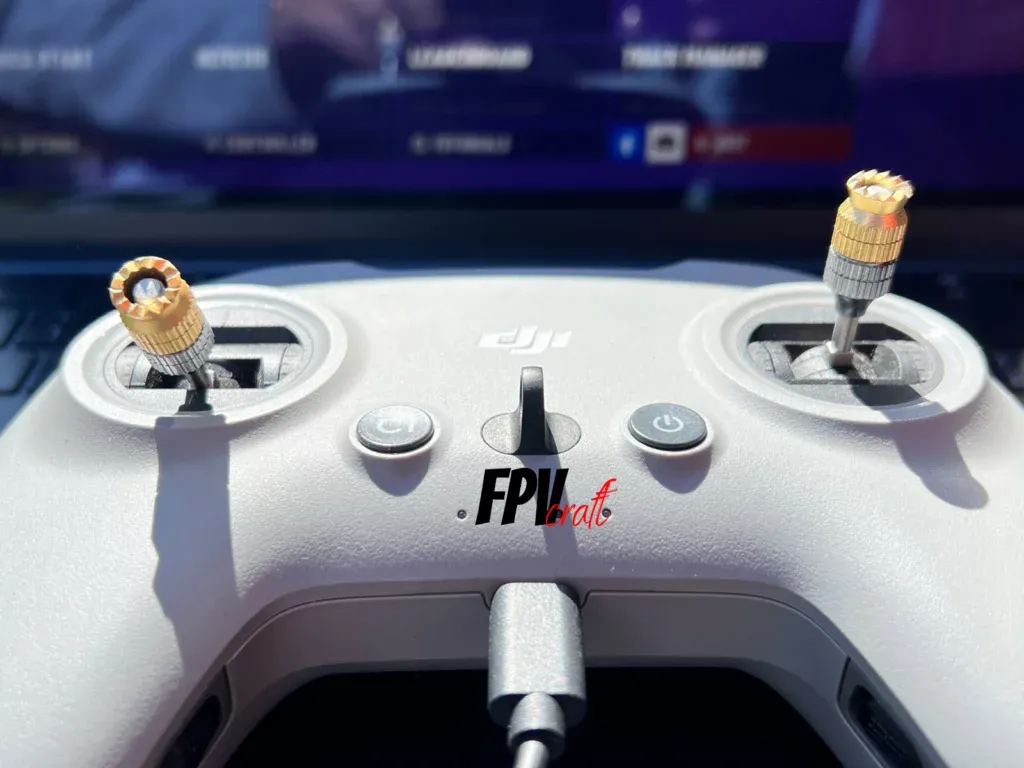
The DJI FPV Remote Controller 2 is very smooth and responsive when flying in an FPV simulator. Velocidrone is no stranger to accepting it and for the RC to work well, as responsive as flying an actual FPV drone.
Once you make the connection to the computer with this remote controller, you won’t need much, just to set it up and calibrate it in Velocidrone.
This is going to be a one-time process and will apply again only if you reinstall the simulator and operating system or connect to another computer.
Velocidrone also accepts the DJI FPV Remote Controller 2 custom buttons to set for different commands, such as resetting the drone, taking screenshots, camera angle, and FOV, enabling some effects, etc.
This is useful as you won’t need the keyboard and mouse anymore unless you change settings or maps, as everything is at your fingertips.
I like to train in Velocidrone and other simulators, as well when I fly FPV, with the “PINCH” method and not thumbs. But that’ll be only a personal preference for you.
» READ MORE: How to Learn FPV in Simulators (Ultimate Guide)
How to set up and Calibrate DJI FPV Remote Controller 2 in Velocidrone
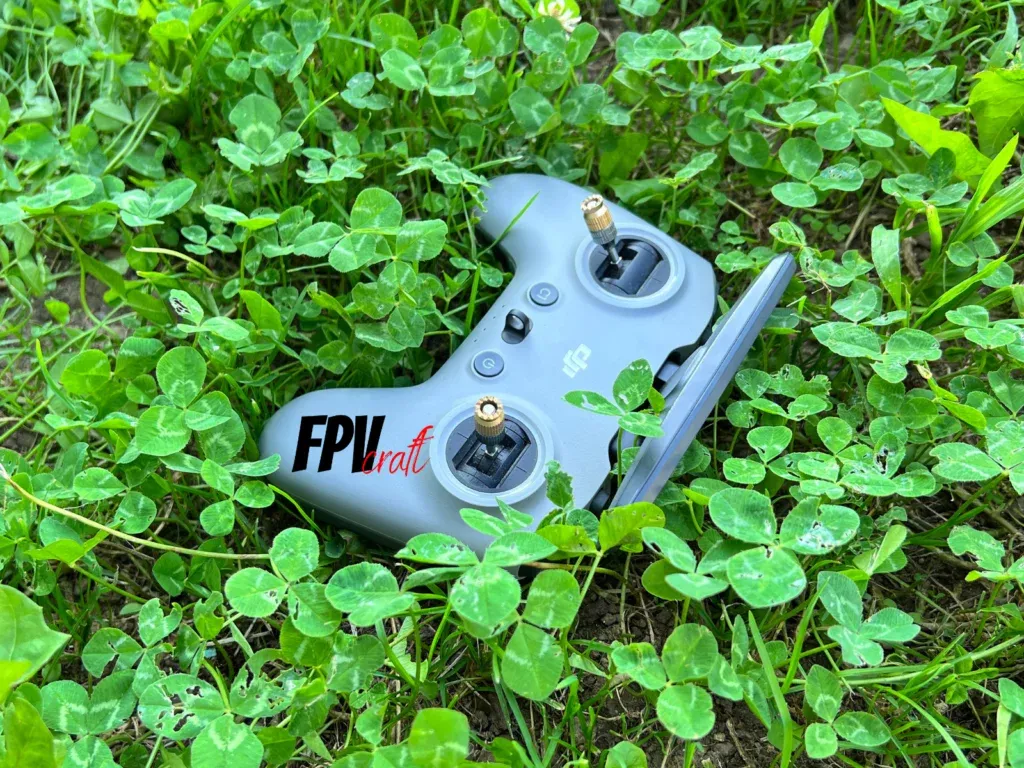
You will first need a specific data cable that will work with the DJI FPV Remote Controller 2 to connect to your computer.
If you have a Windows PC, You can use a USB-C (from the controller) to either USB-C or USB-A cable.
But if you have a Macbook only with USB-C, these appear to decline any USB-C to USB-C connection from the DJI Remote Controller 2 to the MacBook. At least, with all my tests, it has been the same.
The way I made the controller connect is to use a USB-C (from the controller) to USB-A and a USB-A to USB-C dongle (to the computer).
I will strongly recommend you read the following article if you’re struggling to connect your DJI FPV Remote Controller 2 to your Mac.
Now that you have successfully connected your DJI FPV Remote Controller 2 on either Windows PC or Mac, it is time to start the game.
- The first thing you do when you’re into the simulator is go to “Controllers,” located at the bottom of the screen.
- Select “Assign Controller.” You will be asked to move a stick from your connected controller to automatically assign it.
- The next part would be to click “Assign Sticks” from the left side.
- An on-screen guide will appear to move different sticks to the maximum to calibrate the max stick input.
- Afterward, on the same tutorial, you will be required when asked to move roll, pitch, throttle, and yaw for those to be individually assigned to their respective channels.
If you are a very beginner, you may get confused; therefore, I will strongly recommend you watch the following image to see which ones are which (for mode 2)
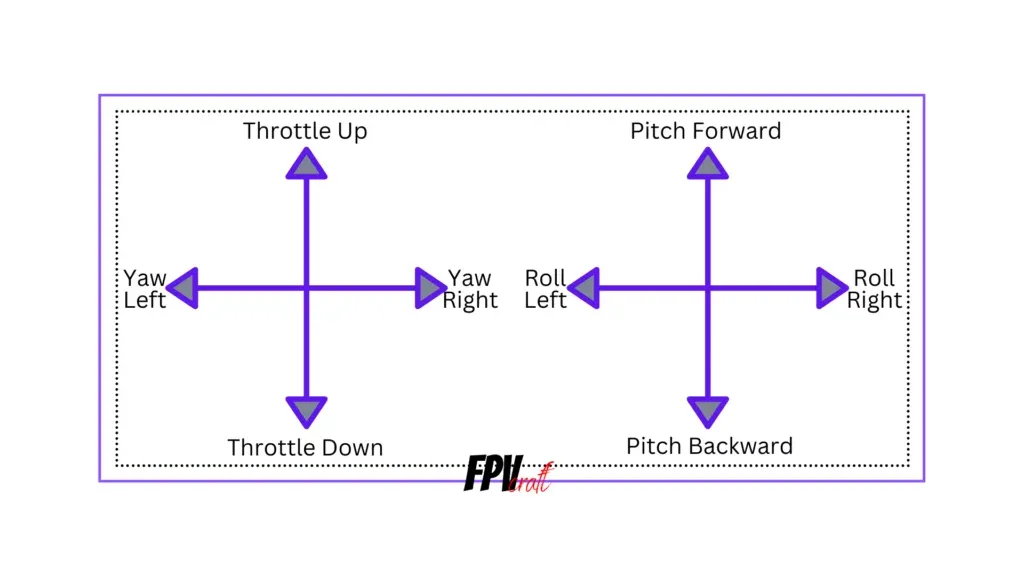
See if every stick responds right and goes in the direction they are supposed to go. If not, retake the last part of the calibration.
Now, you have on the right side the “MAPPING” for the controller. See which button responds to input, select what you want to assign, and click on the “BUTTON X,” X being the input.
For instance, the Button 1, which is C1 from DJI FPV Remote Controller 2, I set to reset the drone.
Now you can start a map and see if your DJI FPV Remote Controller 2 responds precisely how you want in VelociDrone.
The next part would be to set some custom rates.
» READ MORE: Can you use DJI FPV Remote Controller 2 with Liftoff Simulator?
Best rates that work with DJI FPV Remote Controller 2 in Velocidrone
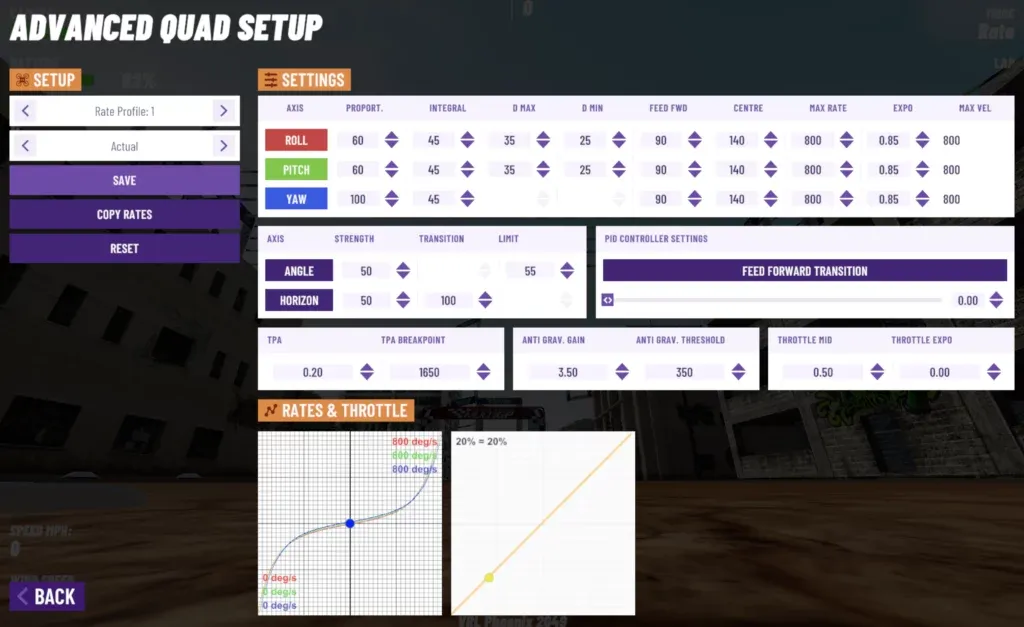
| VelociDrone RATES | CENTRE | MAX RATE | EXPO |
|---|---|---|---|
| ROLL | 140 | 800 | 0.85 |
| PITCH | 140 | 800 | 0.85 |
| YAW | 140 | 800 | 0.85 |
VelociDrone Rates
These rates, set as “ACTUAL,” are the best to work with Velocidrone, Liftoff, Uncrashed, and TRYP FPV, in my personal opinion.
It is a combination between smooth flight and freestyle, where the drone will respond to a rotation of 800deg/sec, whilst the middle part of the sticks (centered) is less sensitive for accurate flights.
You can always change these settings and adjust them per your flight preferences if you don’t like them, but these are my personal preferences.
Other than the RATES, I haven’t personally changed anything.
How do you set the rates?
If you want to set the rates, you must select a drone first.
The rates will be set ONLY PER DRONE, so each drone will have default rates which you can change and set per your like.
- Go to Singleplayer
- Select or add a quad (Best will work with 5-inch freestyle quads)
- Continue and select a map to fly (you will have to enter in-game)
- While in-game, press ESC and select “Advanced Drone Setup.”
- Under the Rate Profile, Select “ACTUAL”
- Set the CENTRE, MAX RATE, and EXPO for ROLL, PITCH, and YAW as on the above table or image.
» READ MORE: Can you use DJI FPV Remote Controller 2 with DRL Simulator?
Do other FPV remote controllers work with Velocidrone?
I have not yet tested other remote controllers with Velocidrone as, when I am writing this article, I am away from home after I acquired the simulator.
But as with other simulators I have tested, I am absolutely confident that you can connect different FPV remote controllers with Velocidrone, and that will work well.
It is just for the remote controller to be supported by a computer connection and to set it as a joystick.
» READ MORE: Does TRYP FPV work with DJI FPV Remote Controller 2?

